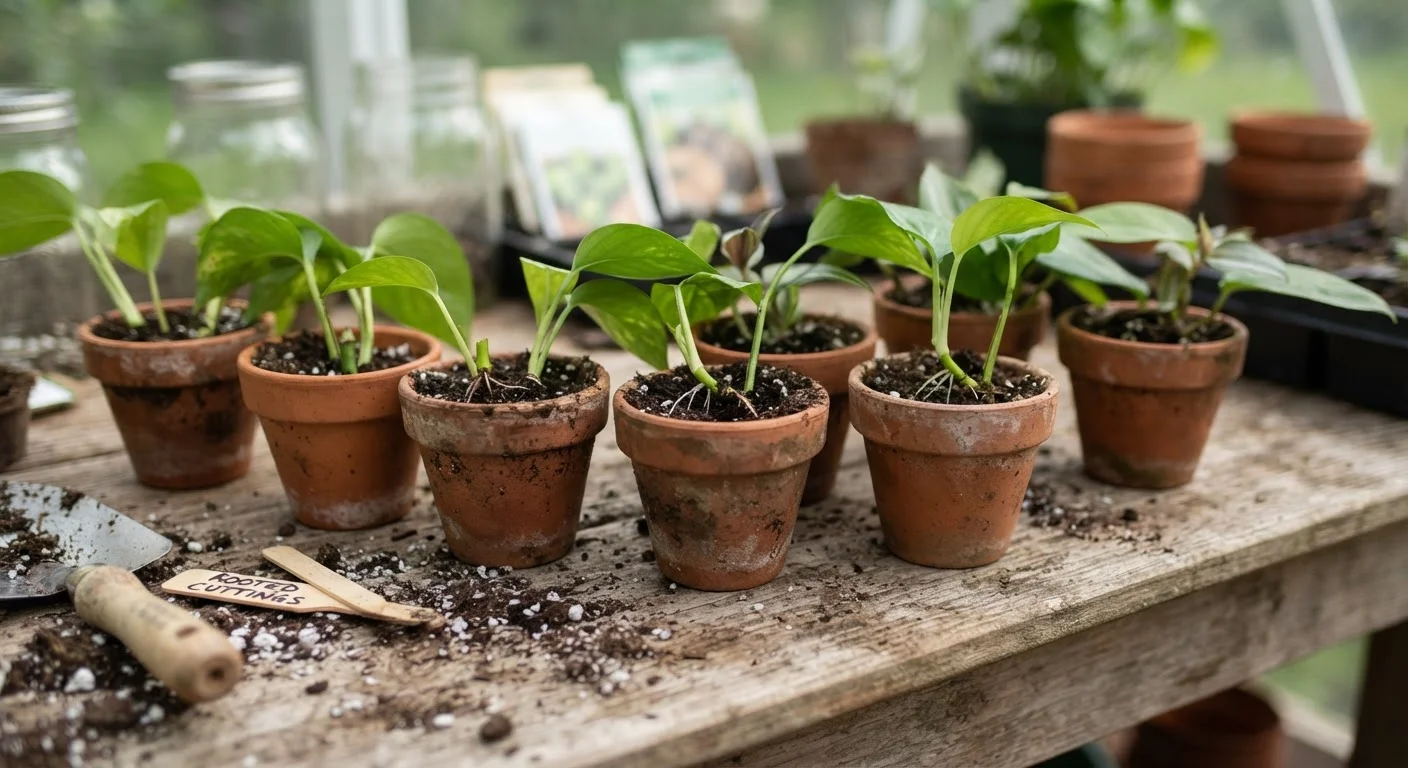
Why Cuttings Beat Buying New Plants
Buying established plants from a nursery adds up fast, especially when you're furnishing a full garden bed or replacing plants lost over winter. Propagating from stem cuttings sidesteps that cost almost entirely. A healthy parent plant - one you already own or can get a cutting from a neighbor - is all you need to produce a dozen or more new plants.
This method works across a wide range of species. Herbs like rosemary, mint, and basil root reliably from cuttings, as do many perennials, houseplants, and woody shrubs such as lavender and hydrangea. It's a different approach from seed saving - see our seed saving guide for that method - but both belong in any budget gardener's toolkit.
If you're still setting up your growing space, our guide to starting a garden with almost no money covers the fundamentals of soil, containers, and light before you begin propagating.
Great Species to Start With
If you're new to propagation, mint, pothos, basil, and coleus are forgiving choices that root quickly and tolerate beginner mistakes. Rosemary, lavender, and hydrangea work well but take longer and benefit from rooting hormone. Check our guide to low-maintenance edibles for more species that respond well to this method.
What You'll Need
The materials list is intentionally short. Avoid buying specialty propagation kits - most of what you need is likely already on hand or costs very little.
Sharp pruning shears or a clean utility knife
Makes clean cuts that minimize damage to stem tissue, reducing rot risk.
Small pots or repurposed containers (4-inch diameter)
Holds the rooting medium while the cutting develops roots.
Perlite or a perlite-potting mix blend
Provides the well-draining, airy medium cuttings need to root without rotting.
Rooting hormone powder
Encourages faster root development, particularly helpful for woody-stem cuttings.
Clear plastic bag or humidity dome
Retains moisture around the cutting while roots develop.
Spray bottle
Delivers a fine mist to keep foliage and medium moist without waterlogging.
For container options that won't cost much, our container gardening guide walks through repurposed and low-cost vessel choices that work well for rooting cuttings.
What you will need
Step-by-Step: Taking and Rooting Your Cuttings
The process is straightforward, but a few details - timing, cut angle, moisture level - make the difference between a cutting that roots and one that rots. Follow each step carefully the first time, then adjust based on what you observe.
Choose the right cutting material
Select a stem that is neither brand-new growth (too soft and fragile) nor fully woody (too rigid to root easily). Aim for semi-hardwood growth - stems that are firm but still slightly flexible. Look for stems with at least two or three sets of leaves and no signs of disease, pest damage, or flowering. Flowering stems redirect energy away from root production.
Make a clean cut at the correct length
Using clean, sharp shears or a knife, cut a stem 4 to 6 inches long, making the cut just below a leaf node (the point where a leaf meets the stem). A clean diagonal cut increases the surface area available for root development. Wipe your cutting tool with rubbing alcohol before each cutting to prevent spreading disease between plants.
Strip lower leaves and prep the stem
Remove all leaves from the lower half of the cutting, leaving only two to four leaves at the top. Buried leaves rot quickly and introduce mold to your rooting medium. If using rooting hormone powder, dip the cut end lightly into the powder, tap off any excess, and proceed immediately to planting.
Plant the cutting in your rooting medium
Fill a small pot with a moistened perlite-potting mix blend (roughly 50/50). Use a pencil or chopstick to create a small hole before inserting the cutting - pushing it directly in can scrape off rooting hormone and damage the stem tip. Insert the cutting so that one or two leaf nodes are buried below the surface. Firm the medium gently around the base.
Create a humid environment and place in indirect light
Place a clear plastic bag loosely over the pot, or use a humidity dome if available. This reduces moisture loss through the leaves while the cutting has no roots to draw water from. Place the pot in bright, indirect light - avoid direct sun, which will overheat the cutting and dry it out. A north- or east-facing windowsill is often ideal indoors.
Monitor moisture and check for rooting
Check the medium every two to three days. It should feel lightly damp - not wet. Mist the surface with a spray bottle rather than watering from above, which can displace the cutting. After three to four weeks, test for rooting by gently tugging the stem. Resistance indicates roots have formed. Once rooted, remove the humidity cover and begin treating the cutting as a normal young plant.
Common Problems and How to Avoid Them
Most propagation failures come down to a handful of recurring mistakes. Knowing them in advance saves you from losing a whole batch.
- Wilting immediately after cutting: Expected at first. Keep cuttings out of direct sun and mist lightly. If wilting persists after 48 hours, the stem may be too soft or the rooting medium too dry.
- Rotting at the base: Usually caused by overwatering or a medium that doesn't drain well. Let the surface dry slightly between waterings.
- No roots after four weeks: Some species simply take longer. Woody stems like rosemary can take six to eight weeks. Check by giving a very gentle tug - resistance means roots are forming.
- Mold on the soil surface: Improve air circulation by removing any plastic covering for a few hours each day. A light sprinkle of ground cinnamon on the surface can help reduce mold.
Watch for Overwatering Early On
The most common reason cuttings fail is sitting in overly wet medium. Roots need some air around them to develop properly. A soggy mix starves the stem of oxygen and invites rot within days. When in doubt, err on the drier side and mist rather than water heavily.
Once rooted cuttings have been potted up and established, consult our plant-by-plant guide to low-maintenance edibles to decide which new plants deserve a permanent spot in your garden.