Why Seed Saving Is Worth Learning
Buying seed packets every spring is a small expense that compounds over years. Seed saving breaks that cycle entirely. Once you understand which plants to save from - and how to do it correctly - your garden can largely sustain itself season after season at no additional cost.
The practice also has a practical side benefit: seeds saved from plants that thrived in your specific soil and microclimate are already acclimated to your conditions. Over several generations, that can mean slightly better germination rates and more resilient plants than generic commercial stock. That said, results vary and there are no guarantees - the technique still depends on good storage and starting with the right variety.
For readers already thinking about low-cost garden strategies, seed saving pairs naturally with other frugal approaches. See our guide to starting a garden from zero for a broader foundation, and if you want more ways to cut recurring garden costs, check out free and low-cost ways to feed your garden.
Seed Swaps Are a Free Variety Source
Many local gardening clubs, libraries, and community gardens host informal seed swaps. Bringing your own saved seeds to trade is an easy way to expand your variety selection at zero cost. Search for seed libraries in your area - many public libraries now maintain them year-round.
What Seeds Are Actually Worth Saving
Not all seeds are candidates. The single most important rule: only save seeds from open-pollinated or heirloom varieties. These plants are bred to produce offspring that closely resemble the parent. If a seed packet or plant tag says F1 hybrid, skip it - F1 offspring are genetically unpredictable and typically far less productive than the parent.
Good starting candidates for beginners include:
- Tomatoes - easy to process, seeds viable 4-6 years when stored well
- Beans and peas - let pods dry on the vine; almost no processing needed
- Peppers - dry seeds from fully ripe fruit
- Lettuce - let a few plants bolt and collect the fluffy seed heads
- Zucchini and squash - save from fully mature (oversized) fruit
- Basil and other herbs - let flower heads dry completely on the plant
Cross-pollination is a real concern with some crops. Squash, corn, and brassicas (like kale and broccoli) cross readily with other varieties of the same species. If you grow only one variety of a species, you can generally ignore this. If you grow multiple varieties close together, seeds may not come true. Tomatoes and beans self-pollinate before flowers open, making them nearly foolproof for beginners.
Seed saving is one half of a broader no-cost propagation toolkit - propagating from cuttings covers the other half for perennials and woody herbs.
Tools and Supplies You Need
The equipment list is deliberately minimal.
Small paper envelopes or folded paper packets
Store seeds while allowing residual moisture to escape, preventing mold.
Glass jar with lid
Holds labeled envelopes as a collection and protects seeds from pests and humidity swings.
Silica gel desiccant sachets
Absorbs any residual moisture inside the storage jar to extend seed viability.
Fine mesh strainer
Rinses wet-processed seeds (tomatoes, cucumbers) after the fermentation step.
Ceramic plate or wax paper
Non-stick drying surface that won't bond to seeds as they dry.
Permanent marker or ballpoint pen
Labels envelopes with variety name and year - pencil can fade.
Small jar or cup with water
Used in the fermentation process for wet-seeded crops like tomatoes.
Step-by-Step: From Plant to Stored Seed
Choose your best plants early in the season
Identify two or three of your strongest, most productive plants of each variety you want to save. Mark them with a stake or ribbon so you don't accidentally harvest them all. Seeds saved from weak, diseased, or stressed plants can carry those traits forward.
Let fruit or seed heads reach full maturity
For most vegetables, the fruit you save seeds from should be more mature than what you'd normally eat. A tomato for eating is ripe; a tomato for seed saving should be deeply ripe, almost overripe. Beans and peas should be left until the pods are papery and dry on the vine. Herb seed heads should be brown and beginning to shatter.
Extract and clean the seeds
The method varies by crop:
- Dry-process crops (beans, peas, herbs, peppers): simply shell or shake seeds out, remove obvious debris, and spread on a plate.
- Wet-process crops (tomatoes, cucumbers): scoop seeds and gel into a jar with a small amount of water. Stir daily for 2-3 days. Viable seeds sink; the fermented gel and hollow seeds float. Pour off the gel, rinse seeds through a fine strainer, and spread on a non-stick surface to dry.
The fermentation step for tomatoes also destroys some seed-borne diseases, which is a practical benefit worth the extra effort.
Dry seeds completely
Spread seeds in a single layer on a plate or screen in a warm, well-ventilated room out of direct sun. Stir them once a day to prevent clumping. Most small seeds are adequately dry in 1-2 weeks; larger seeds like squash may need 3-4 weeks. Seeds are ready when they snap cleanly rather than bending when you try to fold them.
Package and label immediately
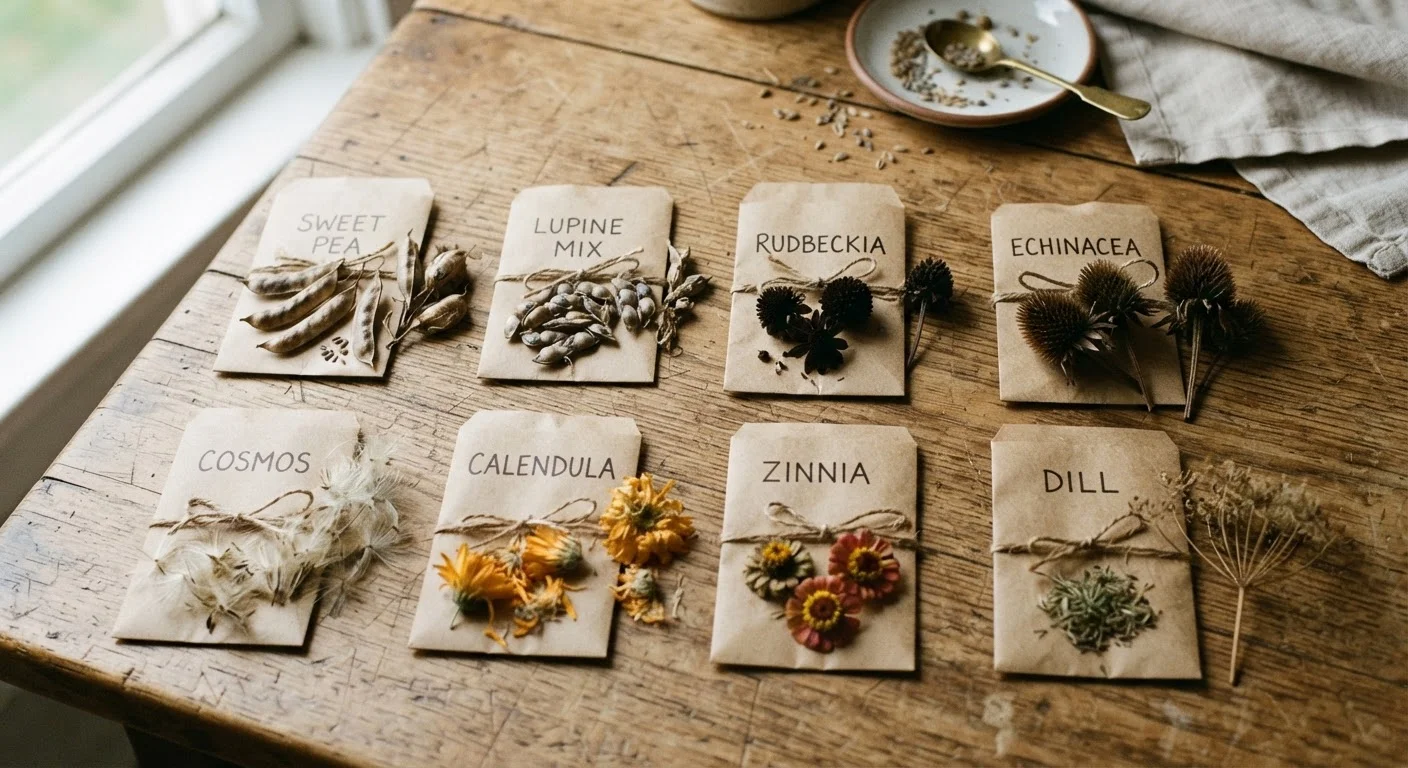
Transfer dry seeds into small paper envelopes or folded paper packets. Write on each envelope: the plant species, variety name, and the year saved. Paper allows any residual moisture to escape; plastic bags or airtight containers trap it. Do not mix varieties in one envelope.
Store in cool, dark, dry conditions
Place labeled envelopes into a lidded glass jar with a small silica gel packet (reusable desiccant sachets are available at craft and hardware stores). Store the jar in a cool, consistently dark location - a basement shelf, interior closet, or refrigerator crisper drawer all work well. Avoid attics, garages, or anywhere that heats up seasonally.
Common Mistakes That Kill Stored Seeds
Most seed-saving failures come down to one of three errors: storing seeds that weren't fully dry, using airtight containers that trap residual moisture, or keeping seeds somewhere warm and humid (like above the fridge or in a garage that heats up in summer).
Moisture Is the Primary Enemy of Stored Seeds
Even seeds that feel dry to the touch can carry enough internal moisture to cause problems in a sealed container. Always dry seeds for the full recommended period before sealing, and include a desiccant sachet in every storage jar. Never store seeds in a kitchen, bathroom, or any space with regular humidity fluctuations.
A quick viability test before the growing season saves wasted effort: place 10 seeds on a damp paper towel, fold it, and seal in a plastic bag at room temperature. Check after the expected germination period for that species (usually 5-14 days). If fewer than 6 of 10 germinate, the batch is marginal; fewer than 4 means start fresh. This gives you an honest picture without committing a whole row of garden space.
Labeling is another common failure point. Dried seeds from different plants look nearly identical. Always label envelopes at the moment of packaging - not later. Include the variety name, plant species, and the year saved.
Seed saving is a genuine long-term money strategy, not a false economy - it reduces a recurring cost with essentially no ongoing investment once the habit is established. For a broader look at which frugality tactics actually pay off over time, see frugal living: separating genuine savings from false economy.