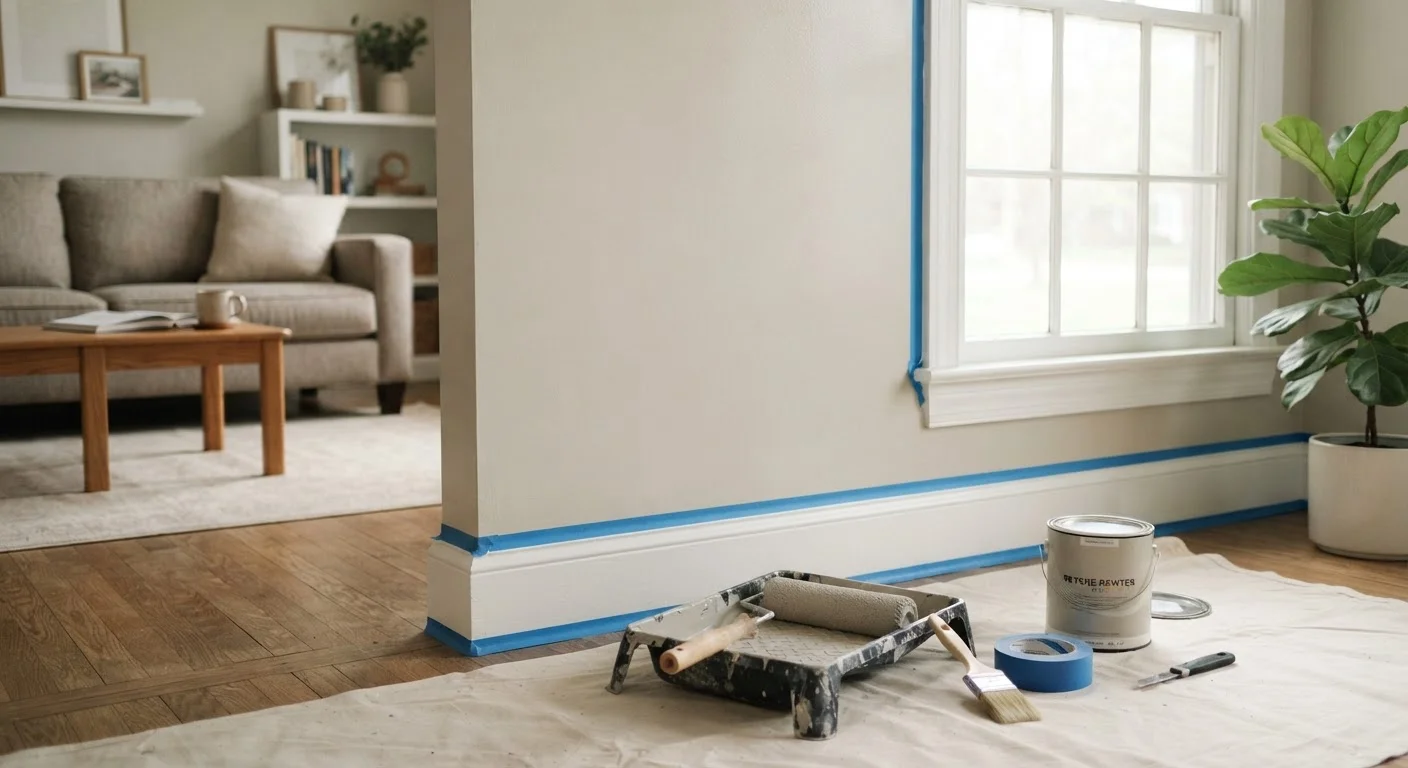
Why This Checklist Exists
Wall painting is one of the highest-value DIY jobs a homeowner or renter can tackle - a single weekend can transform how a room feels without hiring a contractor. But the difference between a result that looks professional and one that looks rushed almost always comes down to what happens before the roller hits the wall.
This checklist walks you through every stage: gathering tools, prepping surfaces, choosing the right products, applying paint, and cleaning up correctly. Work through it in order and you'll avoid the common mistakes that cost people a second can of paint, a repainting session, or worse - permanent damage to trim and floors.
If you're also thinking about the bigger picture of a room overhaul, see our step-by-step room decorating guide for how painting fits into a full room refresh on a limited budget.
Surface Preparation
Room Protection
Priming
Painting
Cleanup and Storage
Tools and Supplies You'll Need
Before you open a single tin, make sure everything on this list is within arm's reach. Running to the hardware store mid-job is how drips dry and edges get missed.
Angled Paint Brush (2-2.5 inch)
Used to cut in cleanly along edges, corners, trim, and ceiling lines before rolling.
9-inch Paint Roller and Frame
Covers large wall areas quickly and evenly; a 3/8-inch nap sleeve suits most smooth to lightly textured walls.
Roller Tray with Liner
Holds and evenly distributes paint onto the roller; a disposable liner speeds up cleanup.
Painter's Tape
Protects trim, baseboards, and ceiling lines from paint bleed for a clean finished edge.
Drop Cloths
Protects floors and furniture from drips and spills throughout the painting process.
Lightweight Spackle and Putty Knife
Fills nail holes and minor wall damage before painting to create a smooth, even surface.
Sandpaper (120- and 150-grit)
Smooths patched areas and scuffs glossy surfaces so primer and paint adhere properly.
Extension Pole for Roller
Allows you to reach upper wall sections and maintain consistent pressure without a ladder on flat walls.
One note on paint quantity: a standard room with 8-foot ceilings typically needs roughly one gallon of paint per coat for every 350-400 square feet of wall area, though textured walls and darker colours may require more. Measure your walls and check the coverage estimate on the label before purchasing.
For a broader look at how painting decisions fit into a full decorating plan, the budget decorating end-to-end guide is a useful companion resource.
Older Homes May Contain Lead Paint
If your home was built before 1978, existing paint may contain lead. Sanding or disturbing lead paint without proper precautions creates a serious health hazard. The EPA recommends testing before any sanding or scraping work in older homes. Do not sand or scrape suspected lead paint without following EPA guidelines or consulting a certified lead-safe contractor.
Ventilation Is Non-Negotiable
Paint fumes - even from water-based latex products - can cause headaches and respiratory irritation in enclosed spaces. Keep windows open and run a fan exhausting air outward throughout painting and drying. Oil-based paints and oil-based primers produce stronger fumes and require more aggressive ventilation; follow all label warnings carefully.
After the Paint Dries: Final Steps
Once the second coat is fully cured - typically 24 hours for latex paint, though product labels vary - remove painter's tape at a 45-degree angle to avoid peeling the fresh paint. Pull slowly and steadily rather than yanking.
Touch up any thin spots or missed edges with a small brush before putting tools away. Clean latex paint from brushes and rollers with warm water immediately; oil-based products require mineral spirits. Brushes stored clean and dry will last through many more projects.
Once the room is fresh, you may find yourself thinking about what goes on the walls. Our look at DIY wall art trade-offs can help you decide whether making your own art is worth the effort or when to try another approach. And if this project is part of a wider audit of your space, the room-by-room decorating checklist covers affordable styling upgrades beyond paint.
This article provides general home improvement information for educational purposes. Results will vary depending on surface conditions, products used, and application technique. Always follow manufacturer instructions on paint, primer, and chemical products, and consult a qualified professional for any structural, electrical, or hazardous material concerns.