Why a Structured Approach Saves You Money
Most overspending in room decoration happens not from buying expensive items but from buying things in the wrong order - or without a plan at all. A cushion bought before the sofa colour is decided. A lamp that doesn't fit the aesthetic that emerged later. These aren't frivolous purchases; they're just mistimed ones.
A step-by-step approach forces sequencing: budget first, layout second, large items third, finishing touches last. Each decision informs the next, which reduces waste and keeps the overall look coherent. If you want to understand the design logic behind why this sequencing works, the principles behind affordable interior styling is a useful companion read.
This guide is written for a single room - bedroom, living room, or home office - rather than a whole apartment at once. Tackling one room completely is more satisfying and more affordable than spreading effort and money thinly across multiple spaces. If you're setting up your first home, styling your first apartment on a shoestring covers the broader starting-from-nothing scenario.
Don't Skip the Budget Step
Decorating without a set spending limit is one of the fastest ways to overspend. Before purchasing a single item, write down a total budget and divide it across categories: furniture, paint, lighting, and accessories. Revisit this number every time you're tempted to add something extra. For broader money-management strategies, see our budgeting basics hub.
What You'll Need Before You Start
Gather these items before beginning the process. Having them ready means decisions get made with accurate information rather than estimates.
What you will need
Tape measure
Accurately measure room dimensions and furniture to avoid costly sizing mistakes.
Graph paper or free floor-plan app
Sketch a scaled layout so you can test furniture arrangements before buying anything.
Paint swatches
Test wall colour options in the actual room light before committing to a full tin.
Small sample pots of paint
Paint test patches on the wall to see how a colour reads in morning and evening light.
Screwdriver set and wall anchors
Hang shelves, mirrors, and artwork securely without damaging walls unnecessarily.
Once these are in hand, work through the steps below in order. Skipping ahead - particularly buying furniture before sketching a layout - is where most decorating projects start to go off-track and over-budget.
Measure Twice Before You Buy
Returning large furniture items is often difficult, costly, or impossible if bought secondhand. Always measure your room dimensions and doorways before purchasing any piece, and confirm the item will physically fit through every doorway on the way in. A tape measure costs almost nothing - skipping this step can cost a lot.
Step-by-Step: Decorating a Room From Scratch
Set your budget and break it into categories
Write down the maximum you can spend, then divide it across four buckets: furniture, paint and wall treatments, lighting, and accessories and textiles. A common starting split for a living room or bedroom is roughly 50% furniture, 20% paint and surfaces, 15% lighting, and 15% finishing touches - but adjust based on what you already own.
This step forces trade-offs early, before you fall in love with something out of range. For a broader framework on making this work financially, see our end-to-end budget decorating guide.
Measure the room and sketch a floor plan
Measure every wall, note window and door positions, and mark which direction natural light enters and at what time of day. Sketch this to scale on graph paper or use a free app. Then cut out paper rectangles representing furniture you're considering, and move them around on the plan.
This prevents the most common budget mistake: buying a sofa or bed frame that overwhelms the room - or a rug that's too small to anchor the space. If you're working with a compact room, our small-space styling guide covers placement strategies that make rooms feel larger.
Choose a colour palette before buying anything
Pick a simple palette of two to three colours: one dominant wall or background colour, one mid-tone for larger furniture or rugs, and one accent for cushions, artwork, or small accessories. Cohesion between these three makes a room look considered rather than assembled from random finds.
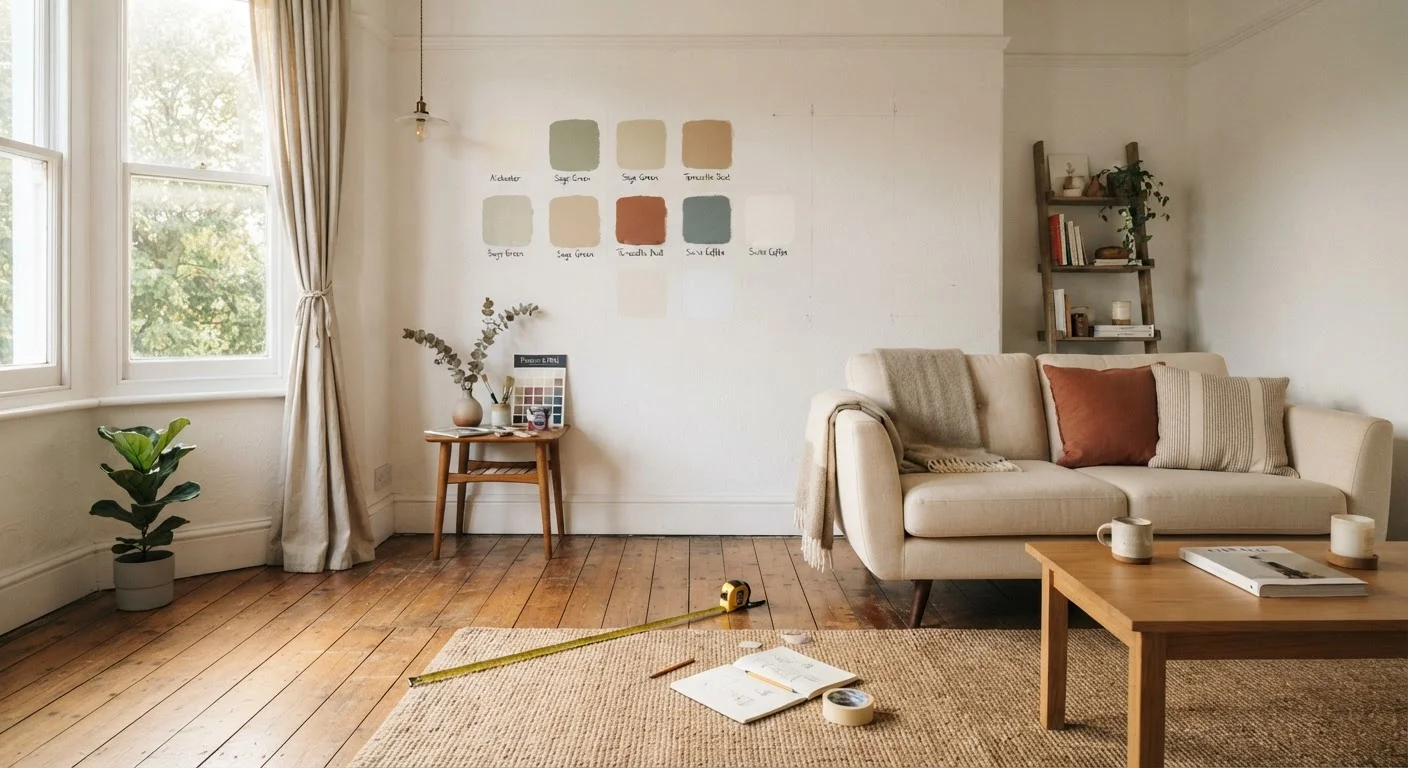
Get paint swatches and stick them to the wall for at least 48 hours, viewing them in both natural and artificial light before committing. Understanding why this works is covered in detail in the principles behind affordable interior styling.
Source large furniture pieces first
Before buying any accessories, get the main structural pieces in place: bed frame or sofa, primary storage, and a rug if the room needs one. These set the scale for everything else. Compare secondhand marketplaces with flat-pack retailers - each has real trade-offs on cost, durability, and effort. Our thrift store vs. flat-pack comparison breaks down how to weigh those options practically.
Prioritise pieces that will stay in the room for years. Save budget flexibility for accessories, which are cheaper and easier to swap out over time.
Address lighting at the planning stage, not as an afterthought
Overhead fixtures alone produce flat, unflattering light. Plan for at least two light sources per room: a primary and a secondary, such as a floor lamp, table lamp, or wall-mounted sconce. Warm-toned bulbs (around 2700K) make most rooms feel more comfortable and finished.
Good lighting is one of the highest-impact, lowest-cost upgrades in any space - and one of the most frequently skipped when budgets get tight.
Layer textiles and finishing touches last
Once the main furniture and lighting are in, add textiles: a throw, cushions, curtains or blinds. These are the elements that make a room feel habitable rather than showroom-staged. Shop these categories secondhand or from discount linen suppliers - quality variation is lower here than with structural furniture.
Art and shelf styling come last. Start with what you already own, then fill gaps gradually. For ideas on refreshing these elements over time without repeat spending, see seasonal refresh ideas that cost less than expected.
Style Gradually, Not All at Once
Resist the urge to fill a room in one shopping trip. Living in an underfurnished room for a few weeks helps you understand how you actually use the space - and prevents purchases you'll regret. Many experienced budget decorators find their best additions come from spotting a gap rather than trying to plan every detail upfront.
After completing these steps, cross-reference your finished room against our budget decorator's room-by-room checklist to catch anything you may have overlooked before considering the room done. For repeatable strategies that transfer across different room types, styling approaches that consistently work is worth bookmarking for future projects.