Why Old Sealant Fails - and Why It Matters
Sealant around a bath or shower tray does a straightforward job: it blocks water from getting behind the panels or under the tray where it can rot subfloor timbers, encourage mould growth, and cause costly structural damage. When that seal breaks down - turning black, peeling away, or cracking - water finds those gaps every single time the shower runs.
Most sealant failures trace back to a small number of causes: inadequate surface prep before the original application, the wrong product type, movement in the bath that the sealant couldn't accommodate, or simply age. Understanding those failure modes makes it much easier to avoid repeating them. For a deeper look at why caulk breaks down, see why caulk fails and what to do before it does.
The good news is that resealing is genuinely a DIY-friendly task. Done correctly, a fresh bead of sanitary silicone should last several years before needing attention again.
Best Practices for a Clean, Lasting Reseal
Follow these steps in order. Skipping any one of them - especially the prep stages - is the most common reason a new seal fails within months.
Remove all old sealant completely before applying anything new.
New sealant applied over old will not bond properly to the underlying surface. Even thin remnants create weak points where water infiltrates and mould returns quickly. A fresh, clean substrate is non-negotiable.
Allow surfaces to dry completely - at least 24 hours - before applying new sealant.
Silicone will not cure or adhere correctly on a damp surface, and trapped moisture underneath fresh sealant accelerates mould growth. Rushing this step is one of the most common reasons a seemingly good job fails within weeks.
Fill the bath with water before sealing, then empty it after the sealant cures.
Acrylic and pressed-steel baths flex downward under the weight of water and a person. If you seal an empty bath, the sealant stretches every time the tub is used and will crack along the bead within months.
Use masking tape to guide a straight, even bead.
Freehand silicone application almost always produces an uneven bead that is difficult to smooth neatly. Tape guides let you work confidently and produce a clean edge with minimal tooling.
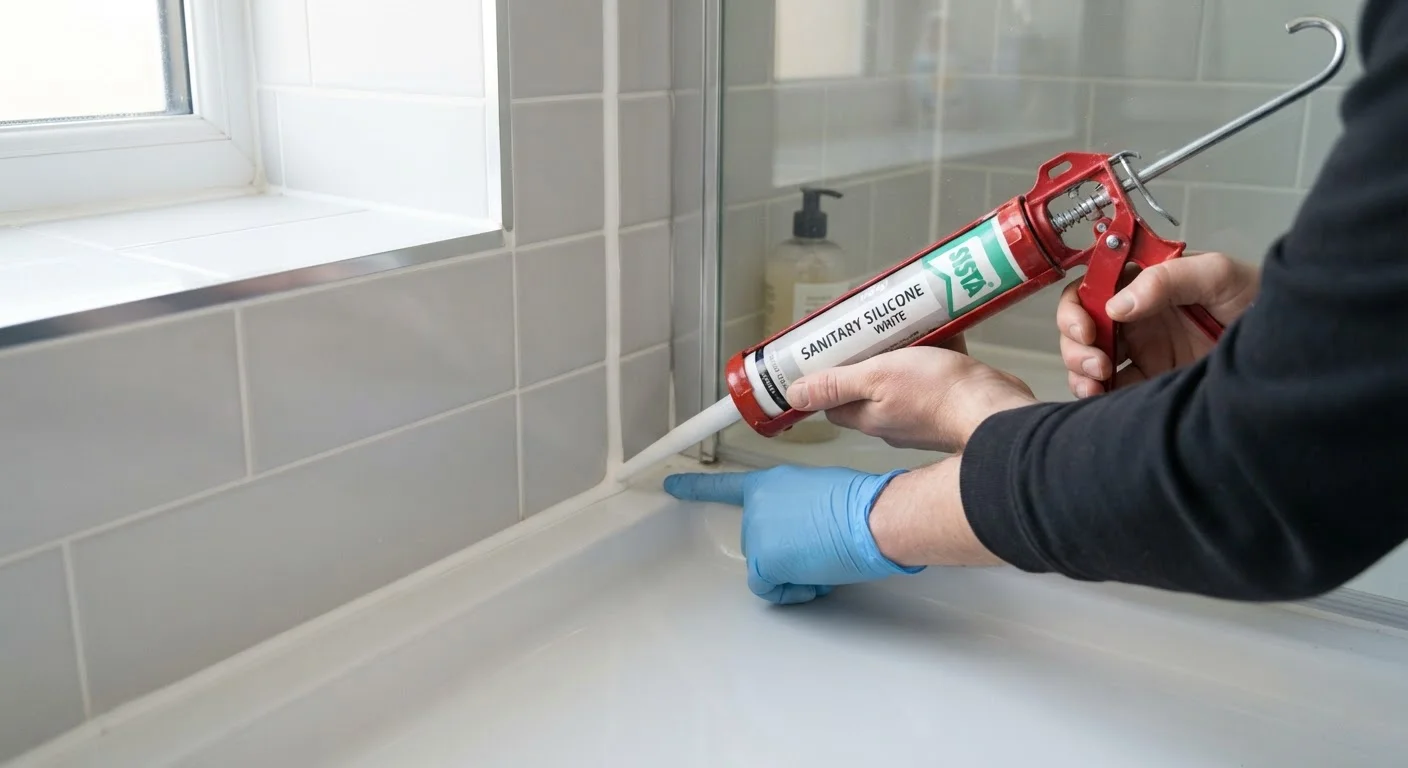
Choose a sanitary-grade silicone with a built-in mould inhibitor.
Standard silicone or general-purpose caulk lacks the fungicide additives that help resist mould in permanently wet environments. Sanitary formulations are specifically designed for bathroom use and hold up far better over time.
Do not use the bath or shower until the sealant has fully cured.
Uncured silicone is water-soluble and will wash out or distort if exposed to water too soon. The exterior may skin over quickly, but full cure takes longer and varies by product and temperature.
Getting Started Today
Most of the tools you need cost very little, and the job typically takes a single afternoon with drying time overnight. Before you buy sealant, check whether your bath or shower tray is plastic, acrylic, enamel, or stone resin - some formulations adhere better to certain materials. If you're unsure whether silicone or an acrylic-latex product is right for your situation, silicone vs. acrylic caulk breaks down the differences clearly.
Once the sealant is cured, the rest of the bathroom is worth reviewing too. Discoloured tile joints are a separate problem - grout cleaning, recolouring, and regrouting explains when each approach makes sense so you don't do unnecessary work.
This article provides general home-improvement information only. For hazardous or structurally significant work, consult a licensed professional and verify any permit requirements with your local authority.