What Makes These Two Formulas Different
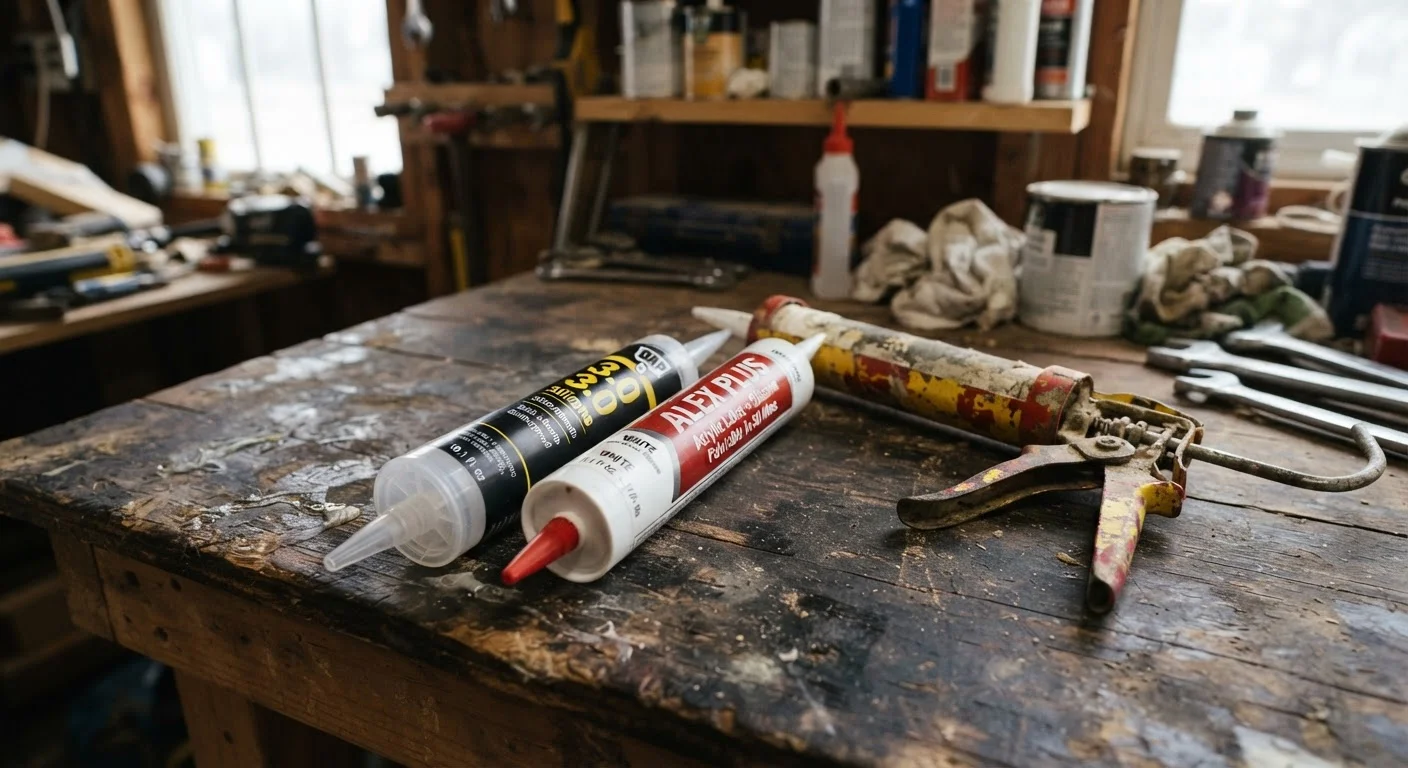
Silicone and acrylic caulk share the same basic purpose - sealing gaps to keep out water, air, and pests - but they're built from entirely different chemistry, and that chemistry determines where each one belongs.
Silicone caulk is a synthetic rubber compound. Once cured, it stays rubbery and flexible indefinitely, resists water without absorbing it, and holds up under UV exposure and temperature swings from below freezing to well over 200°F. The trade-off: it doesn't accept paint and it requires mineral spirits or a specialty solvent to clean up before it cures.
Acrylic caulk (often sold as "latex caulk" or "painter's caulk") is water-based. It's easy to smooth with a wet finger, cleans up with soap and water, and takes paint within an hour or two of application. However, it shrinks slightly as it dries, becomes brittle with age, and breaks down when exposed to standing water or repeated wetting and drying cycles.
A third category - siliconized acrylic or latex-silicone blends - sits in between. These can be painted and clean up with water, yet offer somewhat better flexibility and moisture resistance than straight acrylic. They're a reasonable choice for low-moisture interior applications where you still want paintability, but they shouldn't be treated as a substitute for pure silicone in wet zones.
Comparing Silicone and Acrylic Side by Side
The differences show up clearly when you look at specific performance criteria. Understanding them helps you avoid the most common caulking mistake: using an easy-to-apply acrylic in a spot that really needs silicone's durability.
| Criterion | Silicone Caulk | Acrylic Caulk |
|---|---|---|
| Water resistance | Excellent - fully waterproof | Fair - degrades with prolonged moisture |
| Flexibility after cure | Remains rubbery and flexible | Can become brittle over time |
| Paintability | Not paintable | Paintable with latex paint |
| Cleanup | Requires mineral spirits before cure | Soap and water before cure |
| Adhesion to most surfaces | Very strong, including glass and metal | Good on porous surfaces, weaker on non-porous |
| UV and exterior durability | Excellent | Poor to moderate outdoors |
| Ease of application | Moderate - skins quickly | Easy - more working time |
| Typical lifespan (wet areas) | 15-20+ years | 1-5 years |
| Shrinkage on drying | Minimal | Some shrinkage as it dries |
One point worth emphasizing: neither type adheres reliably over the other. If you're recaulking a tub that previously had silicone, you must remove all the old material before applying new caulk of any type. Skipping this step is one of the most common reasons caulk fails prematurely - a topic covered in depth in why caulk fails and how to prep surfaces.
Matching the Right Caulk to the Right Location
Location is the single most important factor in your choice. Here's a straightforward breakdown by area:
- Tubs, showers, and sink perimeters: Always use 100% silicone. These surfaces flex slightly with use, and standing water is constant. Acrylic will peel within one to two years in these conditions.
- Kitchen backsplash and countertop seams: Silicone is preferred where the seam contacts water regularly. Acrylic can work on the painted drywall above the backsplash where moisture is only occasional.
- Interior trim, baseboards, and crown molding: Acrylic or siliconized acrylic is the standard choice. These joints aren't exposed to water, and paint adhesion is essential for a finished look.
- Exterior door and window frames: Use silicone or a high-quality exterior-grade siliconized formula. Freeze-thaw cycles will crack standard acrylic within a season or two.
- Gaps around pipes or mechanical penetrations: Silicone is typically appropriate; check whether the application also requires a fire-rated sealant for penetrations through fire-rated assemblies, which is a separate product category entirely.
Fire-Rated and Specialty Applications
Standard silicone and acrylic caulk are general-purpose sealants and are not substitutes for fire-rated caulk, acoustic sealant, or foam backer products. If you're sealing penetrations through fire-rated walls or floors, local building codes typically require a listed fire-stop product - not standard caulk. When in doubt, consult a licensed contractor or your local building department.
When in doubt about which formula suits a specific application, the product label will list recommended uses - read it before you buy, not after you're already mid-project.
Practical Tips for Better Results with Either Type
The formula matters, but so does how you apply it. A few practices improve results regardless of which type you choose:
- Cut the nozzle small. A 1/8-inch opening gives you better control than a large cut. You can always make the hole bigger, but not smaller.
- Apply to clean, dry surfaces. Both silicone and acrylic bond poorly to soap residue, dust, or any moisture. Wipe the surface with isopropyl alcohol and allow it to dry fully before caulking.
- Tool within 5 minutes. Smooth the bead quickly with a wet finger or a caulk tool before a skin forms. Silicone skins faster than acrylic in warm, dry conditions.
- Allow full cure time before water exposure. Silicone typically needs 24 hours to cure fully; acrylic can take longer to harden through its full depth. Avoid exposing the joint to water before the manufacturer's cure time is complete.
- Don't skip the prep. Old caulk should be fully removed, not just covered over. A utility knife and a caulk remover tool make this step faster and reduce the risk of trapped moisture or mold underneath.
Taking these steps adds maybe 20 minutes to the job and can double or triple the lifespan of the seal.