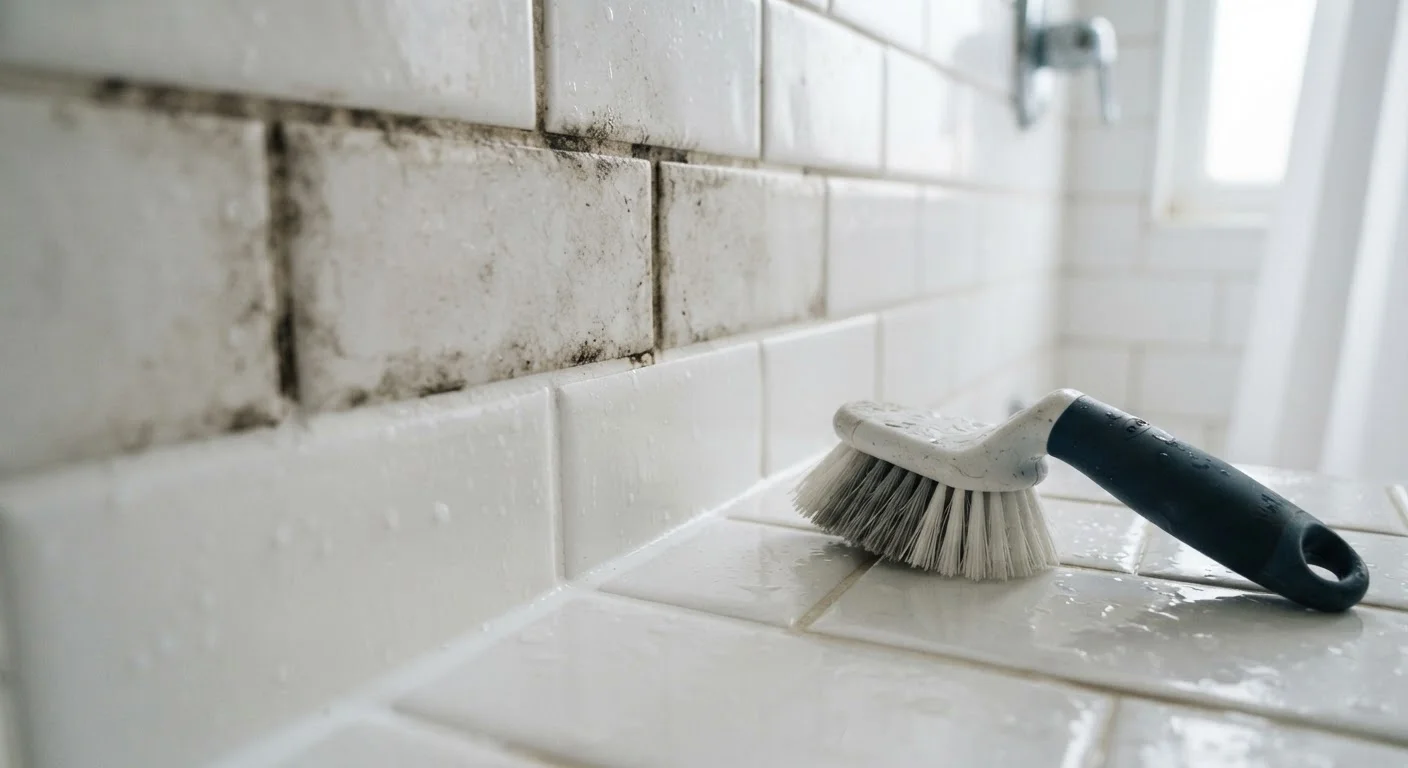
Why Grout Problems Look Worse Than They Are
Grout is porous by nature. In bathrooms and kitchens, it absorbs soap residue, hard water minerals, mould spores, and general grime constantly. Over time, even well-maintained grout lines darken or turn patchy - and most homeowners jump straight to assuming they need to rip it all out and start fresh.
That assumption is usually wrong, and acting on it is expensive. Before spending hours scraping tile joints or paying a contractor, it helps to accurately diagnose what's actually happening. The three most common grout problems - staining, colour fade, and structural failure - each require a completely different fix. Applying the wrong solution means wasted effort and, in some cases, damage you didn't have before.
A quick visual check is usually enough to steer you in the right direction. Run a finger along the grout line. Does it feel firm and intact, or does it crumble and flake? Is the colour uniformly dark, or is it patchy and uneven? Are there cracks, gaps, or areas where grout is missing entirely? Your answers determine which task you actually need.
Option 1: Deep Cleaning - The Starting Point for Almost Everyone
If grout is firm and intact but looks dark or dingy, cleaning should always be your first step. A significant portion of what appears to be permanent discolouration is actually surface-level buildup that responds well to the right cleaner and a stiff-bristled brush.
For general grime, a paste of baking soda and water scrubbed in with a grout brush works on lightly soiled joints. For mould or soap scum, a diluted oxygen bleach solution (following product label directions) applied and left for 10-15 minutes before scrubbing is more effective. Avoid chlorine bleach on coloured grout - it can strip pigment and create new problems.
Steam cleaners are worth considering for heavily soiled areas because they loosen buildup without harsh chemicals. After cleaning, rinse thoroughly and let the grout dry completely before evaluating results. Many homeowners are surprised how much lighter grout becomes once it's genuinely clean.
Always Clean Before You Colourise or Regrout
Applying colourant or new grout over dirty joints traps contaminants underneath and leads to early failure. Cleaning first - even a simple scrub - is non-negotiable regardless of which follow-up step you choose. Allow grout to dry completely before applying any sealer or colourant product.
If you're dealing with mouldy sealant around the bath or shower tray alongside the grout, that's a separate job. See our guide to resealing a bath or shower tray for the right approach there.
Option 2: Recolouring - When Cleaning Isn't Enough
If grout is clean but still looks faded, patchy, or has lost its original colour uniformly, a grout colourant or colourant sealer is the next step. These products penetrate the grout surface and deposit a new, consistent colour while also sealing the pores against future staining.
Application involves cleaning first (always), then applying the colourant with a small brush or applicator pen directly to the grout lines, wiping excess off the tile face before it dries, and allowing proper cure time. The process takes patience but is well within DIY ability for most people on a flat, accessible surface.
Colourant sealers are particularly useful if you want to change grout colour - going from cream to grey, for example - or to match grout that was originally white but has been permanently stained by iron-heavy water. Results typically last several years with normal use. This approach costs considerably less than regrouting and causes zero tile disturbance.
| Deep Cleaning | Recolouring | Regrouting | |
|---|---|---|---|
| Best for | Surface staining and grime | Faded or uneven colour, intact grout | Cracked, crumbling, or missing grout |
| DIY difficulty | Low | Moderate | Moderate to high |
| Typical time required | 1-3 hours | 2-4 hours | Half day to full day |
| Relative cost | Lowest | Low to moderate | Moderate to high |
| Tile disturbance risk | None | Minimal | Moderate - edge chipping possible |
| Result longevity | Months (without sealing) | Several years (with sealer) | 10+ years if done correctly |
Option 3: Regrouting - Only When Structure Has Failed
Regrouting means removing existing grout and replacing it. This is the most labour-intensive and disruptive option, and it's only justified when grout is physically failing - cracking, crumbling, pulling away from tiles, or missing in sections. Discolouration alone is never a reason to regrout.
Removal is typically done with an oscillating multi-tool fitted with a grout-removal blade or with a manual grout rake. Both tools require care to avoid chipping tile edges. After removal, joints are cleaned out, allowed to dry, then packed with fresh grout mixed to a workable consistency, applied with a rubber float, wiped clean, and allowed to cure.
The process is manageable as a DIY job on wall tiles but more demanding on floor tiles where grout lines are wider and coverage is larger. Matching new grout to existing tile and old grout colour takes some test patches - grout always dries lighter than it looks wet. Budget for extra material and test small sections before committing to a full room.
When to call a professional: If damaged grout surrounds cracked or loose tiles, or if there's evidence of water damage behind the tiles (soft wall, staining, mould beneath the surface), stop and consult a licensed tradesperson. Those are signs of a larger waterproofing issue that goes beyond a grout fix.
Sealing: The Step That Makes Any Fix Last Longer
Whether you've deep cleaned, recoloured, or regrouted, sealing grout afterward is one of the highest-value steps you can take. Grout sealer fills the porous surface and dramatically reduces how quickly staining and moisture penetration recur.
Penetrating sealers (also called impregnating sealers) are the most durable option for most residential tile installations - they don't sit on the surface and peel, they bond within the grout. Apply only to clean, fully cured grout, wipe off excess promptly, and reapply every one to two years in high-traffic wet areas like showers.
Sealing won't fix underlying structural problems, but it will extend the life of a successful cleaning or recolouring job significantly. It's a low-cost, low-effort step that most homeowners skip - and then wonder why they're back to square one a year later.