Why Avoid Chemical Drain Cleaners?
Liquid drain cleaners work by generating heat through a chemical reaction, which can soften or warp PVC pipe joints over time. Repeated use can also corrode metal pipes and degrade rubber washers inside fittings. Beyond pipe damage, the caustic chemicals are a burn hazard if they splash back, and they must be disposed of carefully to avoid environmental harm.
Mechanical methods - pulling debris out physically or flushing with hot water - address the actual blockage without these trade-offs. They're also repeatable and free of ongoing cost once you own the basic tools. If you're a renter looking to handle small fixes without major interventions, pairing this skill with other low-cost habits can meaningfully reduce your utility costs; see our article on saving on utilities without major renovations for complementary ideas.
It's also worth knowing which DIY beliefs aren't worth acting on. Our piece on home repair myths that waste time and money covers common missteps that can turn small problems into bigger ones.
Plastic hair-removal tool (drain claw)
Hooks and pulls hair and soap scum from just below the drain stopper without disassembly.
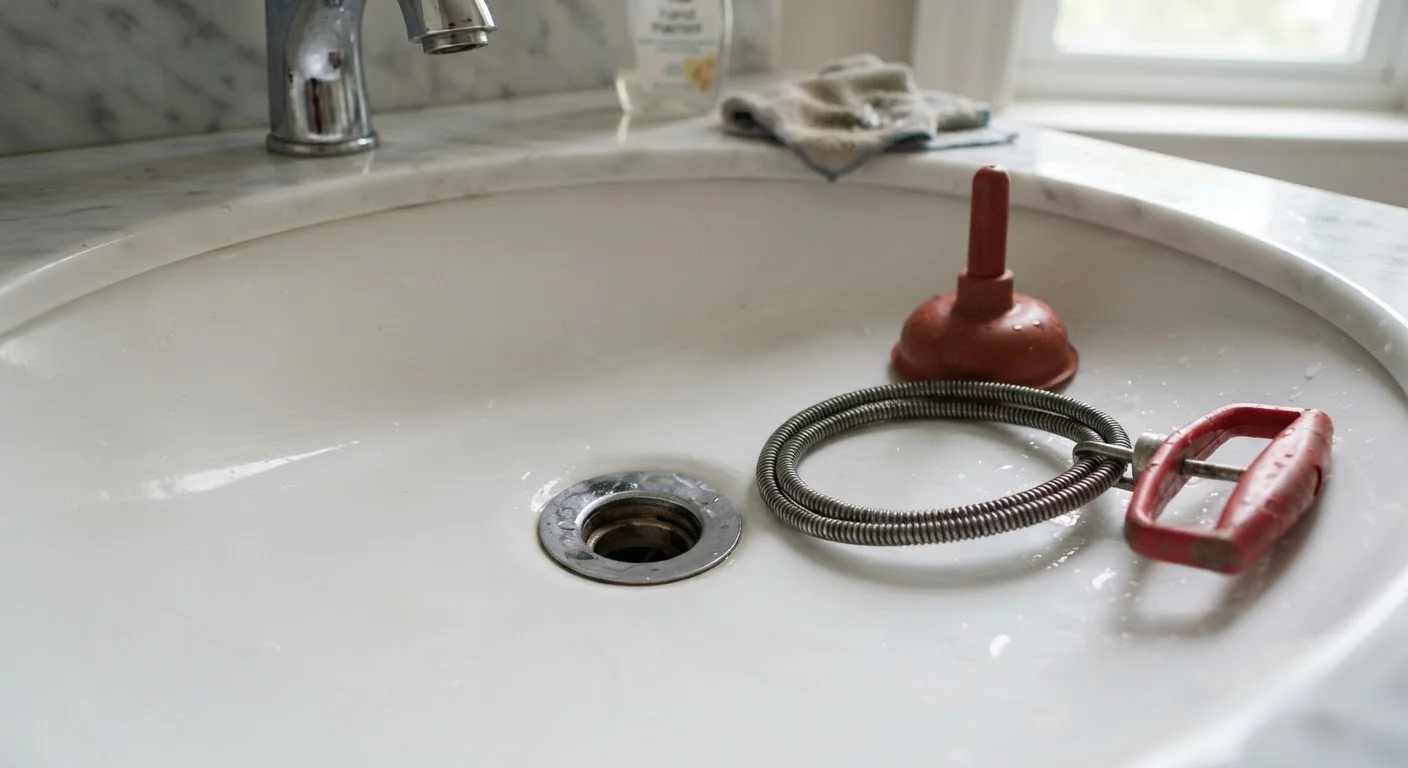
Manual hand drain snake (25 ft)
Reaches clogs deeper in the drainpipe that a hair tool cannot access.
Adjustable pliers or slip-joint pliers
Loosens the P-trap slip nuts when you need to remove and clean the curved pipe section.
Bucket or shallow pan
Catches standing water and debris when you open the P-trap.
Old toothbrush
Scrubs residue from inside the P-trap and drain stopper components.
Step-by-Step: Clearing the Drain
Work through these steps in order - most clogs are resolved by step 3, so there's no need to jump straight to the P-trap. Gather your tools and lay down an old towel before you start.
What you will need
Remove and clean the drain stopper
Many bathroom sinks have a pop-up stopper controlled by a pivot rod connected to the drain assembly. Lift the stopper straight out if it's the lift-and-turn style, or unscrew it counterclockwise. For pivot-rod types, reach under the sink, squeeze the spring clip on the horizontal pivot rod, slide it out, and pull the stopper free from above.
Wipe off the stopper thoroughly - soap scum and hair collect heavily on the rubber gasket and stem. Rinse under running water before setting aside.
Use a plastic hair-removal tool
Insert a plastic drain claw or zip-it tool into the drain opening and push it down 4-6 inches. Rotate it slowly as you pull back up. The barbed plastic edges catch hair and soap buildup that sits just below the surface - this single step clears the majority of bathroom sink clogs.
Dispose of the debris in the trash, not back down the drain. Repeat two or three passes until the tool comes back clean.
Flush with hot water and baking soda mixture
Boil a kettle of water and let it cool for two minutes so it's very hot but not boiling (boiling water can soften PVC pipe joints). Pour it slowly down the drain in two or three stages, letting it work between pours.
For grease-based buildup common in kitchen sinks, follow with half a cup of baking soda, then half a cup of white vinegar. The fizzing reaction can help dislodge residue from pipe walls. Wait 10-15 minutes, then flush again with hot water.
Use a hand drain snake for deeper blockages
If draining is still slow after steps 2 and 3, the blockage may be deeper than a hair tool can reach. Feed the end of a manual hand snake into the drain opening and crank the handle clockwise as you push forward. When you feel resistance, continue rotating to break up or hook the clog.
Pull the snake out slowly, removing any debris caught on the end. Flush with hot water to clear any loosened material.
Remove and clean the P-trap
The P-trap is the curved section of pipe visible under the sink. Place a bucket directly beneath it. Use slip-joint pliers to loosen the two slip nuts - one connecting to the drain tailpiece above and one connecting to the wall pipe. Turn counterclockwise. Once loose, slide both nuts back and pull the P-trap free.
Empty the trapped water into the bucket. Use an old toothbrush and warm soapy water to scrub the inside of the trap, removing any accumulated sludge. Inspect the rubber washers in the slip nuts - if cracked or flattened, replace them (they cost pennies at a hardware store).
Reattach the P-trap and hand-tighten the slip nuts, then snug them an additional quarter-turn with pliers. Run water and check for leaks at both connections.
Prevent Future Clogs for Free
Place a mesh drain screen over the drain opening after finishing this fix. These cost under two dollars at most hardware stores and catch hair and debris before they enter the pipe. Flush kitchen sinks with hot water for 30 seconds after washing greasy dishes to keep soap and grease moving through the line.
When the Problem Is Bigger Than One Drain
A slow bathroom sink almost always has a localized cause - hair, soap scum, or a small grease deposit. However, if you notice that your tub, toilet, or other fixtures are also draining slowly, or if you hear gurgling in connected drains when water is running, the issue may lie further down in the building's plumbing system.
Know When to Call a Plumber
If slow draining affects multiple fixtures at the same time, or if you notice gurgling sounds from other drains, the problem may be in the main stack or sewer line - beyond DIY reach. In that situation, stop and contact a licensed plumber. Attempting to clear a main-line blockage yourself can worsen the problem and lead to costly repairs.
Similarly, if you've fixed the sink but still notice unexpectedly high water bills, it's worth checking other fixtures. A running toilet is one of the most common silent water wasters - our guide on the hidden causes of a running toilet explains what to look for and when the fix is DIY-safe.
Do Not Mix Drain-Clearing Methods
If you have already poured any chemical drain cleaner into the sink, wait until the pipe has been thoroughly flushed with water before using any mechanical tools or opening the P-trap. Residual chemicals can cause skin and eye burns. If the clog is completely solid with no drainage, consult a licensed plumber - forcing a snake through a fully blocked pipe can sometimes cause damage.