Why Draught-Proofing Matters in a Rental
A draughty flat doesn't just feel cold - it forces your heating system to work harder, which shows up on your energy bill. Gaps around window frames, under doors, and through letterboxes can let in a surprising volume of cold air, particularly in older buildings with aging seals and frames.
The good news for renters is that effective draught-proofing doesn't require permanent changes. The methods below rely on removable, non-damaging materials, so you can take them with you when you move - or simply peel them away at the end of a tenancy. For more ideas on cutting energy costs within renter constraints, see our guide to saving on utilities without major renovations.
Before starting, read your tenancy agreement carefully. Most standard agreements permit reversible improvements, but it's worth confirming you won't be penalised for any adhesive residue. If in doubt, contact your landlord or letting agent in writing and keep a record of the response.
What you will need
What You'll Need
Draught-proofing a typical one- or two-bedroom flat rarely costs more than $20-$40 in materials, and most supplies are available at hardware stores nationwide. Here's what to gather before you start:
Self-adhesive foam weather-strip tape
Seals gaps along the edges of window frames and door frames; peels off cleanly when removed.
Door draught excluder (fabric or rubber)
Blocks the gap under doors without any attachment to the door itself - simply placed against the base.
Temporary window insulation film
Adds an extra layer of insulation over single-glazed or poorly sealed windows; removed without residue using a hairdryer.
Letterbox draught seal
A brush-style insert that blocks cold air coming through the letterbox flap.
Scissors
For cutting foam tape and window film to the correct length.
Tape measure
Ensures accurate measurements so you buy the right amount of material and cut clean strips.
Isopropyl alcohol wipes or damp cloth
Cleaning the surface before applying adhesive tape ensures a better bond and easier removal later.
Identify which gaps need attention first. Run your hand slowly around door frames, window edges, and skirting boards on a cold or windy day - you'll feel airflow where sealing is needed. A lit incense stick or a thin strip of tissue paper held near the frame can make subtle draughts more visible.
Step-by-Step: Sealing Your Flat
Work through each draught source systematically. Starting with the front door and main windows delivers the biggest return for your effort. The steps below cover the most common problem areas in rental flats.
Locate and map all draught sources
Walk through each room on a cold, windy day with a hand or a strip of tissue paper. Check around: door frames (top, sides, and bottom), window frames and sashes, letterboxes, keyholes, skirting boards along external walls, and any pipes passing through external walls. Note each location - this stops you from buying too much or too little material.
Clean all surfaces before applying any adhesive
Use an isopropyl alcohol wipe or a damp cloth with a drop of dish soap to clean the frame surfaces where tape will be applied. Remove dust, grease, and old adhesive residue. Let the surface dry completely - adhesive foam tape bonds poorly to damp or dirty surfaces and will peel off prematurely, wasting both the material and your effort.
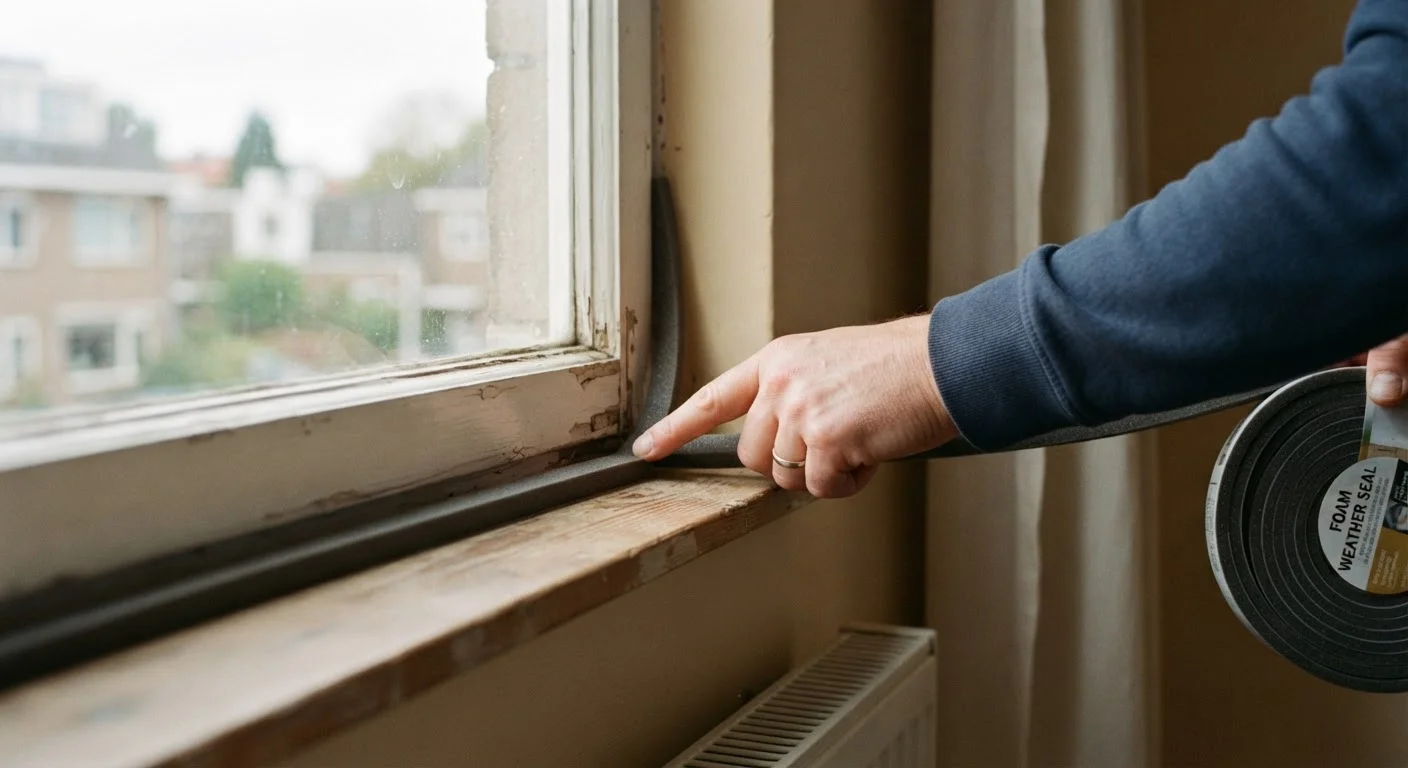
Apply foam weather-strip tape to door and window frames
Measure the length of each frame edge where there is a gap. Cut foam tape to length with scissors and peel the backing before pressing firmly in place along the door stop - the narrow ledge the door closes against. For windows, apply the tape to the frame edge that contacts the sash when closed. Test the fit: the door or window should still close fully with light resistance. If it won't close, use a thinner tape profile.
Place a draught excluder under the front and back doors
A fabric tube or rubber-bottomed excluder placed along the interior base of the door is the simplest fix for under-door gaps. No attachment is needed - it sits in place and moves with the door. For a more secure option, adhesive-backed rubber strip can be applied to the door's bottom edge, though check your tenancy agreement first. Fabric tube excluders work well and are fully renter-safe.
Install a letterbox draught seal if needed
Letterboxes are often overlooked but can let in a significant amount of cold air. A brush-style draught seal insert fits inside the letterbox flap and takes about five minutes to install with no tools required - it simply snaps or slides into the existing fitting. Remove it when you leave by reversing the process.
Apply temporary window film to single-glazed windows
If your flat has single-glazed windows, temporary insulating film can noticeably reduce heat loss. Cut the film slightly larger than the window pane, apply double-sided tape around the frame, press the film to the tape, then use a hairdryer on low heat to shrink the film taut. The result is a near-invisible secondary layer that improves insulation. To remove it, peel away the film and use a hairdryer to soften and lift the tape without marking the paintwork.
Once you've sealed the main gaps, it's worth doing a second walk-through on a cold day to check for any remaining draughts you may have missed the first time. Gaps around pipes where they pass through external walls - common in kitchens and bathrooms - can also be sealed with a removable, flexible filler if your tenancy agreement permits minor repairs.
Keep the materials and any receipts. If you move, you can take reusable excluders with you and remove adhesive strips cleanly using a hairdryer on a low setting to soften the adhesive before peeling.
Staying Within Your Rights as a Renter
Draught-proofing sits in a grey area for some renters - it's practical maintenance, but it touches the fabric of the property. The safest approach is to stick to fully removable solutions and document the condition of frames and seals before and after with dated photographs.
If you discover that windows or doors are genuinely failing - frames rotting, seals broken beyond simple draught-strip fixes, or gaps caused by structural settling - that's a repair responsibility that typically falls to the landlord. Report it in writing and keep a copy. Trying to patch structural problems yourself could mean taking on liability that isn't yours. For a broader look at how your tenancy status affects what you can and can't do, see our guide on renting vs. owning décor choices.
It's also worth noting that some DIY fixes that seem helpful can create unintended problems. Common home repair myths - such as sealing every gap without allowing any ventilation - can lead to condensation and mold issues. Always leave trickle vents on windows open and ensure bathrooms and kitchens stay adequately ventilated.