Choosing Your Method Based on Hole Size
Not all drywall holes are equal, and using the wrong fix wastes both time and materials. Before grabbing anything, classify the hole:
- Nail or screw holes (under ¼ inch): A dab of lightweight spackling compound, smoothed with a finger or putty knife, is all you need. No mesh, no backing.
- Small holes (¼ inch to 3 inches): Self-adhesive mesh patches work well here. They bridge the gap and give joint compound something to grip.
- Medium holes (3 to 6 inches): Use a California patch - a piece of drywall cut slightly larger than the hole, with the paper face left intact on two edges to act as a built-in backing strip.
- Large holes (over 6 inches): Cut back to the nearest studs on each side and install a proper drywall panel secured with screws. This is the only structurally sound approach for bigger damage.
If you're new to home repairs generally, the A First-Timer's Roadmap to Home Repairs covers tools, safety basics, and when a job is better left to a licensed professional.
What you will need
Tools and Materials You'll Need
Drywall repair doesn't require a contractor's truck full of gear. Most of what you need costs under $30 total at any hardware or big-box home improvement store.
Putty knife or drywall knife (4-6 inch)
Applies and feathers joint compound across the patch area.
Lightweight joint compound
Fills and smooths the repair; sands easily when dry.
Self-adhesive mesh patch (for holes ¼"-3")
Bridges the hole and gives compound a surface to bond to.
Sandpaper (120-grit and 220-grit)
Knocks down ridges between coats and creates a smooth final surface.
Primer (drywall or PVA primer)
Seals the compound so finish paint adheres evenly without flashing.
Utility knife
Cuts mesh patches and shapes drywall pieces for California patches.
Sanding sponge
Useful for light finish sanding around curved or tight areas.
A note on compound: lightweight joint compound (sometimes labeled "all-purpose" or "easy sand") is the most forgiving option for small- to medium-sized patches. It sands more easily than setting-type compounds, which harden chemically and can't be re-wet if you need to fix a mistake.
Step-by-Step: Patching the Hole
Follow the steps below in order. Skipping the drying time between coats is the single biggest mistake DIYers make - it leads to cracking and visible seams even after painting.
Prepare the hole
Remove any loose paper, crumbling edges, or protruding drywall around the hole. Use a utility knife to trim ragged edges cleanly - compound won't bond to loose material, and rough edges telegraph through the finished patch. For holes with a popped nail or screw still in place, drive the fastener slightly below the surface rather than removing it; pulling it out creates a larger void.
Apply the backing or patch material
For nail holes, skip this step entirely - go straight to compound. For holes ¼ inch to 3 inches, center a self-adhesive mesh patch over the void and press firmly. For the California patch method (3-6 inch holes), cut a piece of drywall about 2 inches wider than the hole on two sides, score the back, and snap it to expose a paper flap on each edge - those flaps bond directly to the existing wall surface. For large holes, sister blocking lumber between studs and screw new drywall panel to the framing.
Apply the first coat of joint compound
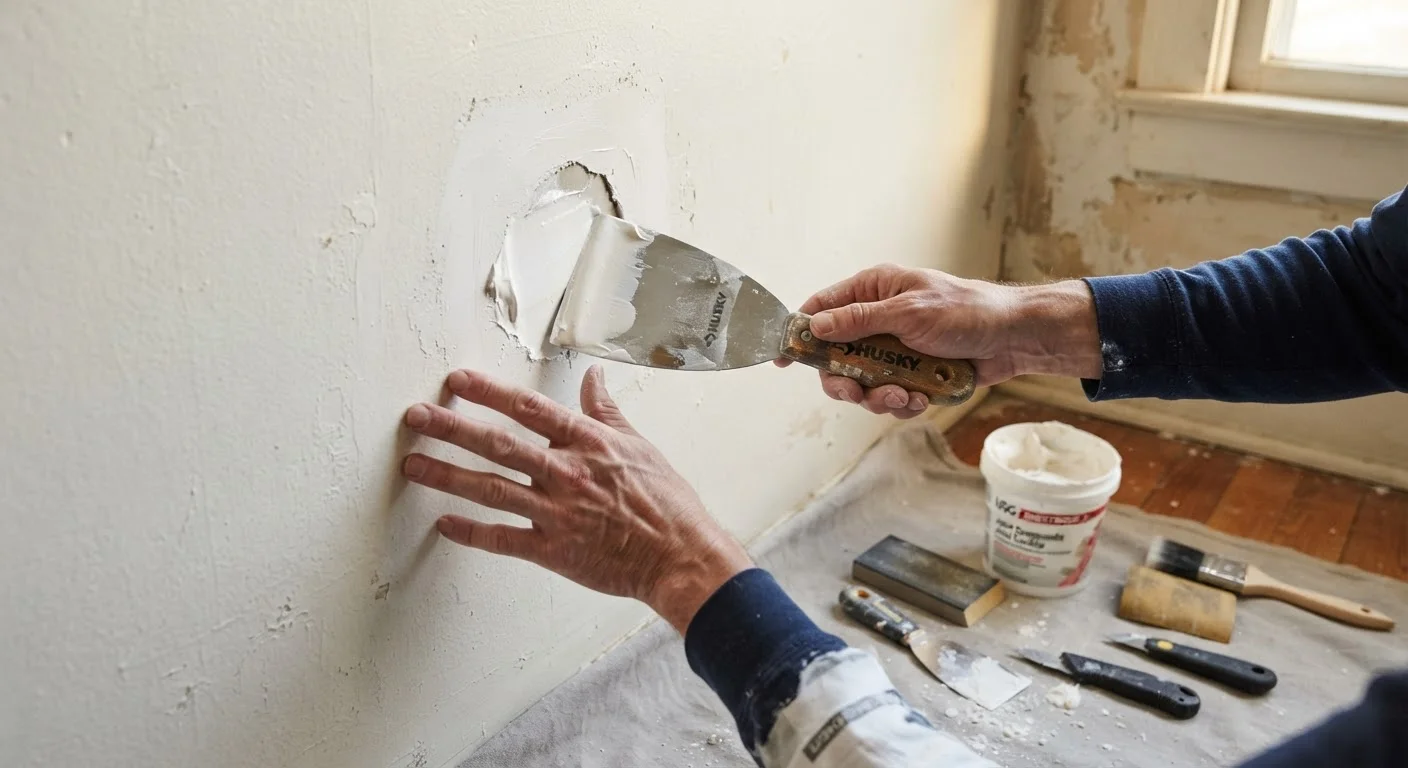
Scoop a modest amount of lightweight joint compound and spread it over the patch using your 4-6 inch putty knife held at a low angle. Work in thin layers - aim for about ⅛ inch thick. Press firmly so compound fills the mesh or backing fully. Feather the edges outward 2-3 inches beyond the patch boundary. Trying to build up too much in one coat causes sagging and cracking.
Let dry completely, then sand
Joint compound must be fully dry before sanding - it turns from gray/tan to uniform white when ready. Drying time varies with humidity and temperature but is typically 4-8 hours per coat indoors. Once dry, sand lightly with 120-grit sandpaper using circular motions, then wipe away dust with a dry cloth. You are not trying to sand it perfectly flush yet - just knock down ridges.
Apply second (and if needed, third) coat
Apply a second thinner coat of compound, this time feathering 5-6 inches beyond the patch. For medium or large patches, a third coat is usually necessary. Each coat should be thinner than the last. Between the final coat and primer, finish-sand with 220-grit sandpaper until the surface is smooth and flush with the surrounding wall. Run your hand across it - you should feel no ridge or depression at the patch edge.
Prime and paint
Apply a coat of drywall primer or PVA primer to the patched area. This step is non-negotiable - skipping it causes the topcoat paint to absorb unevenly, leaving a dull spot even if the color matches exactly. Once the primer is dry, apply your finish paint. Blend the edges into the surrounding wall to minimize sheen differences. For larger patches, rolling the entire wall section produces a more uniform result than spot-painting.
Once your patch is painted, it's worth thinking about what caused the hole. Anchors that pull out of drywall are a common culprit. See our guide on choosing the right wall anchors to avoid repeat damage.
Texture Matching and Finishing
A smooth patch on a textured wall stands out just as much as the original hole. Common wall textures and low-cost ways to replicate them:
- Orange peel: Thin joint compound slightly with water and apply with a small roller, or use a rattle-can orange-peel texture spray. Test on cardboard first.
- Knockdown: Apply thinned compound with a roller, let it partially set, then lightly flatten random areas with a trowel held nearly flat.
- Skip trowel: Apply compound in irregular patches with a rounded trowel - intentionally uneven coverage is the look.
- Smooth (no texture): The easiest to match - sand until flush, prime, paint.
Always prime the patched area before painting. Unprimed compound absorbs paint unevenly and creates a dull "flashing" effect even when the color matches perfectly.
Renters should also check common home repair myths before starting - some popular DIY shortcuts genuinely make walls harder to repair later.